 English
 Español
Categories
Contacts
Luxury Hydraulic Lift for Villas – Retrofit, No Pit Required
Product Details:
Brand Name
YIMEISITE
Place of Origin
China
Payment & Shipping Terms:
Minimum Order Quantity
1 set
Price
USD 4,000-10,000 per set
Payment Terms
T/T,L/C
Supply Ability
20 sets per month
Delivery Time
45 working days
Packaging Details
Export non-fumigation wood box
| Floor: | Deck Floor | Pit Depth: | 0 M |
| Cabin: | 304# Stainless Steel/aluminium Alloy | Power: | 220V, 50Hz, Single Phase |
| Large Cylinders: | 2.9 Meter Length | Motor: | 4.7 Kw |
| Warranty: | 1 Year | Max Height: | 14.5M |
| Highlight: | 14.5Meter Hydraulic Lift For Villas,14.5Meter Villas Personal Elevator,Personal Elevator 0M Pit Depth | ||
Product Description
Villa retrofit series · hydraulic drive
A luxury hydraulic lift for villas that are already finished
This page is for the villa that is painted, furnished and lived in. The lift is a hydraulic home lift with a 0 m pit depth, up to 14.5 m of travel and 5 stops, running on a single-phase 220 V supply. Nothing is dug out of the ground floor to make room for it.
Retrofit is the whole point. A finished house has a floor that nobody wants to cut, a staircase that sets the width of every panel carried inside, and a supply board that was sized years ago. The lift below is built around those three constraints instead of asking you to rebuild the house around a standard shaft.
On this page · 11 sections
Can a finished villa take a hydraulic lift?
The honest answer is that it depends on three numbers, and all three can be measured in an afternoon. They are the floor-to-floor height of the top landing, the clear opening you can give the cabin and its doors, and the route the hydraulic power unit can take to the shaft. Everything else on this page is detail around those three.
A hydraulic lift with a 0 m pit is a strong fit for finished villas because it removes the single most disruptive part of a normal installation. There is no pit to cast, no floor slab to break, and no drainage to add under the lowest landing. On this page the pit depth is listed as 0 M, the lift travels up to 14.5 m across 5 stops, and the drive runs from a single-phase 220 V supply rather than a three-phase drop.
You have a shaft or a stairwell void
A stairwell void, an unused light well, a wardrobe stack or a framed outdoor shaft can usually be closed in with a steel or masonry structure. Duct runs and plasterboard are normally easy to work around.
Check next: finished floor to finished floor of the top stop, up to 14.5 m.
The void is tight but workable
Narrow voids and low headroom are a design problem rather than a stop sign. Load, cabin size and door arrangement can be adjusted within the 400–630 kg range on this page, and the top of the shaft has to clear the cabin and its lifting gear.
Send a sketch with measured clear dimensions and the landing heights.
There is no usable vertical route
If every possible line from the ground floor to the top floor is blocked by structure that cannot be moved, or the top stop sits above 14.5 m of travel, this configuration is the wrong starting point. A shaft survey tells you that before money is spent.
Alternative: reposition the lift, or change the number of stops.
What makes a retrofit cheap or expensive
The cost of adding a lift to a finished villa rarely sits in the lift itself. It sits in how much of the house has to be opened up, and four items decide that. Does a shaft void already exist, and can the power unit be placed close to the shaft? Can the cabin and its panels be carried through the existing stairwell and doorways, and can the work be done in one continuous run instead of in stages?
Because this lift needs no pit, the ground floor keeps its floor finish. That matters more than it sounds. A pit means cutting a slab, breaking a screed, casting concrete, curing it, waterproofing it, and then rebuilding the finish around the opening. On a finished ground floor that sequence is the largest single line in the budget, and it is the one item this lift removes entirely.
Two conditions still come with it, and they should be on the table from day one. The first is headroom at the top landing: the page states that the lift fits a 3 m overhead clearance. The second is the route to the hydraulic power unit. A hydraulic drive needs a place for the power pack that stays accessible for servicing, and the villa has to offer that place near the shaft.
Retrofit rule of thumb. If a shaft void exists and the top landing clears 3 m, the job is mostly carpentry, electrical work and cabin assembly. If the void has to be created, the job becomes a structural project and the schedule changes with it.
If you would rather compare this drive against traction and screw lifts before committing, the hydraulic home elevator range shows the same family in other cabin layouts, and the full product list covers the alternatives side by side.
How a 0 m pit hydraulic drive works
A pit exists in a conventional lift for one reason: the car and its frame have to travel below the lowest landing so that the floor of the car can sit level with the floor of the house. Remove that requirement and the pit disappears.
This lift solves it with the cylinder arrangement. The unit on this page uses two large cylinders of 2.9 m length, driven by a 4.7 kW power unit on a single-phase 220 V supply. Instead of the car sinking into the ground, the cylinder travel is arranged so that the lowest position of the car is already at finished floor level. The result is a hydraulic home lift that starts from the floor you already have.
Why hydraulic rather than traction for a retrofit
Traction lifts need a machine room or a compact machine space above the shaft, and they need a shaft structure that can carry that load. Many finished villas do not have the headroom, and the ones that do often cannot reach the top of the shaft with a crane or a hoist without taking the roof apart.
Hydraulics move the heavy hardware to floor level. The power unit sits beside the shaft and can be serviced standing up. The load path runs down through the cylinders into the base of the structure, which is easier to reinforce in an existing building than a load suspended from the top. This is the practical reason a hydraulic lift is usually the first option to price for a finished villa.
Two limits to design around
Travel is the first limit. The page lists a maximum height of 14.5 m for the 5-stop configuration, so the top landing has to fall inside that figure, measured finished floor to finished floor.
Shaft top height is the second limit. A hydraulic lift still needs room above the highest landing for the cabin and its frame. The page states a 3 m overhead clearance requirement, so a sloping roof space or a low ceiling over the top landing has to be checked early rather than after the order.
Key specifications on this page
Everything in the table below comes from the parameter table of this page. The third column is the retrofit consequence of each figure, because a specification only becomes useful once you know what it does to your building.
Converted values are rounded for reading. Reference only. Final engineering verification required.
| Specification | Value | What it changes in a finished villa |
|---|---|---|
| Pit depth | 0 m0 ft | No slab cutting and no cast pit at the lowest landing, so the ground-floor finish stays as it is. |
| Maximum height (travel) | 14.5 mabout 47 ft 7 in | Caps the total of finished floor to finished floor across the whole run, measured to the top stop. |
| Stops | 5 | Ground floor plus four upper landings in the configuration listed here. |
| Load | 400 to 630 kgabout 880 to 1,390 lb | Sets cabin size and the number of people or items per trip; custom builds are quoted up to 1000 kg. |
| Speed | 0.6 m/sabout 118 ft/min | Residential travel speed: a full 14.5 m run is a short ride rather than a wait. |
| Power | 220 V, 50 Hz, single phase | Runs from a single-phase supply, so a three-phase upgrade is not part of the scope. |
| Motor | 4.7 kWabout 6.3 hp | Sizes the drive circuit and the power unit position on the electrical plan. |
| Large cylinders | 2 × 2.9 m2 × about 9 ft 6 in | Two cylinders share the load, which is what allows the lowest position to sit at floor level. |
| Cabin material | 304 stainless steel or aluminium alloy | Stainless steel for a heavier, brushed look; aluminium alloy to keep the cabin frame light. |
| Cabin lighting | LED | Low heat inside a closed cabin, which matters in warm climates. |
| Floor | Deck floor | The cabin floor is delivered as a deck, so the villa finish does not have to match a lift floor. |
| Doors | Automatic sliding doors | No manual gate, so access does not depend on closing a door behind you. |
| Safety equipment | Emergency stop, overload protection, door sensors | Three devices to verify at handover; the checks are listed in section 8. |
| Warranty | 12 months | One year on the unit; plan the first service visit inside that window. |
How the range behaves at 400 kg and at 630 kg
Load is not just a number on a plate: on a hydraulic lift it changes how the cabin is built and how the shaft structure is loaded. At the bottom of the range, a 400 kg cabin suits a two to three person household lift with a compact footprint. At 630 kg, the cabin takes more people per trip and the cylinder and structure work harder. Both sit inside the range listed on this page, and custom builds are quoted above it, up to 1000 kg.
| Item | 400 kg build | 630 kg build |
|---|---|---|
| Cabin footprint | Smallest footprint in the range; suits tight stairwell voids. | Larger cabin, so the clear shaft dimensions have to grow with it. |
| Structure | Lighter framing loads, easier to fit inside an existing void. | Heavier load path into the base of the shaft; framing has to be checked. |
| Drive | Same hydraulic principle, same 0 m pit depth. | Same principle and pit depth; a bigger cabin is the main difference. |
| Power supply | 220 V, 50 Hz, single phase | 220 V, 50 Hz, single phase |
| Travel ceiling | Up to 14.5 m | Up to 14.5 m |
Before you fix a load figure, confirm the clear shaft dimensions and the framing that will carry the cylinders. On a retrofit the cabin size usually follows the space you have, not the other way round.
The same drive appears in other villa layouts, including a microprocessor-controlled sightseeing elevator for villas and an indoor/outdoor 400 kg hydraulic lift, if a glazed cabin or a semi-outdoor position is a better match for the house.
What to measure before ordering
Four measurements decide whether this lift fits, and all four can be taken with a tape measure, a spirit level and a phone camera. Take them before the first quotation, not after, because every one of them can change the cabin size.
- Site survey checklist 0 / 4
Recording the survey properly
Write each figure down with the surface it was measured from. A shaft that measures 1,200 mm from plaster to plaster is a different shaft once tiles and skirting are added, and a millimetre claim that ignores the finish is the usual cause of a late redesign.
Photograph every landing from the same corner, with the tape visible in the frame. Add one photo of the route the panels will take, including the narrowest doorway and the turn on the stairs. These five or six images remove most of the back-and-forth before a quotation can be issued.
Measure twice, order once. The cabin is built to the shaft you measure. If the shaft figure changes after the order, the cabin changes with it, and that is a new lead time rather than an adjustment on site.
When the shaft has to be created
If no void exists, a steel frame shaft or a masonry enclosure can be built inside the house or against an outside wall. The lift itself does not change; what changes is that the project now has a structural package in front of the lift package.
An outdoor position is often the simplest retrofit of all because the shaft is a new structure from the outset and the house stays closed while it is built. A weather-protected outdoor lift such as the compact outdoor elevator for villas covers that route.
Power and electrical conditions
This lift runs on a 220 V, 50 Hz single-phase supply with a 4.7 kW motor. In a finished villa that is good news: the lift does not need a three-phase service, a new transformer or a supply upgrade, and in most houses the work is a new dedicated circuit from the existing board.
The electrical side still has to be done properly, and that is a local decision. Circuit breaker rating, cable cross-section, protective device type and earthing method follow the wiring rules of the country the villa stands in. The figures on this page tell your electrician what the lift needs; they do not replace the local calculation.
Sparing capacity at the board
A single-phase villa board with a spare way and a short, direct run to the shaft is the easy case. The lift gets its own circuit, its own protection and its own isolator at the power unit.
Send a photo of the consumer unit and the cable route with the enquiry.
Long run or a loaded board
Boards that are already near capacity, cable runs of tens of metres, or a shared supply with a workshop, pool heat pump or EV charger need the electrician to check voltage drop before the lift is connected.
Flag this on the enquiry form and let the local electrician sign it off.
What the installation needs from the house
Four items define the electrical scope, and each one is a question for the electrician rather than a specification issue:
- A dedicated circuit from the distribution board to the power unit, sized to the 4.7 kW drive and protected to the local standard.
- An isolation point at the power unit, so the lift can be worked on without switching the whole house off.
- Protection appropriate to the supply arrangement, decided on site against the earth loop and the installation method.
- Stable voltage at the drive terminals, since a long cable run is the usual reason a hydraulic lift underperforms on a retrofit.
Where the lift is installed outdoors or in an unheated outbuilding, the power unit and its enclosure need protection from weather and from condensation. The lift is designed for villa use; the electrical protection around it still has to suit the local environment.
Frequency and voltage. The figures listed on this page are 220 V and 50 Hz. If your villa is supplied at a different voltage or frequency, say so at enquiry stage and it will be quoted as a variant rather than assumed to match.
The rated current shown on the delivered data plate governs the final circuit design. It is not listed on this page: treat it as [TO CONFIRM] from the supplied datasheet.
Sizing the practical questions
The power unit is a machine, and machines make noise. Put it where the sound does not arrive in a bedroom at night: a plant cupboard, a garage wall, an outdoor enclosure, or a service recess with ventilation. Distance from the shaft is a hydraulic question, and it should be answered by the supplier before the position is fixed in the design.
Access comes next. A power unit that can only be reached by moving furniture is a power unit that does not get serviced on time. Leave standing room and a clear face for the panel, and keep the isolating switch in the same space.
Commissioning checks on the electrical side
At commissioning, confirm the circuit is dedicated, the protective device matches the design, the power unit is correctly earthed, and the emergency stop cuts the drive as intended. Record the readings and keep them with the handover folder, because the first service visit will ask for them.
Confirm the supply with all normal household loads running, not at an empty hour. A retrofit lift is judged by how it behaves on a winter evening when the house is busy, and that is the condition the commissioning check should reproduce.
Cabin and finish options
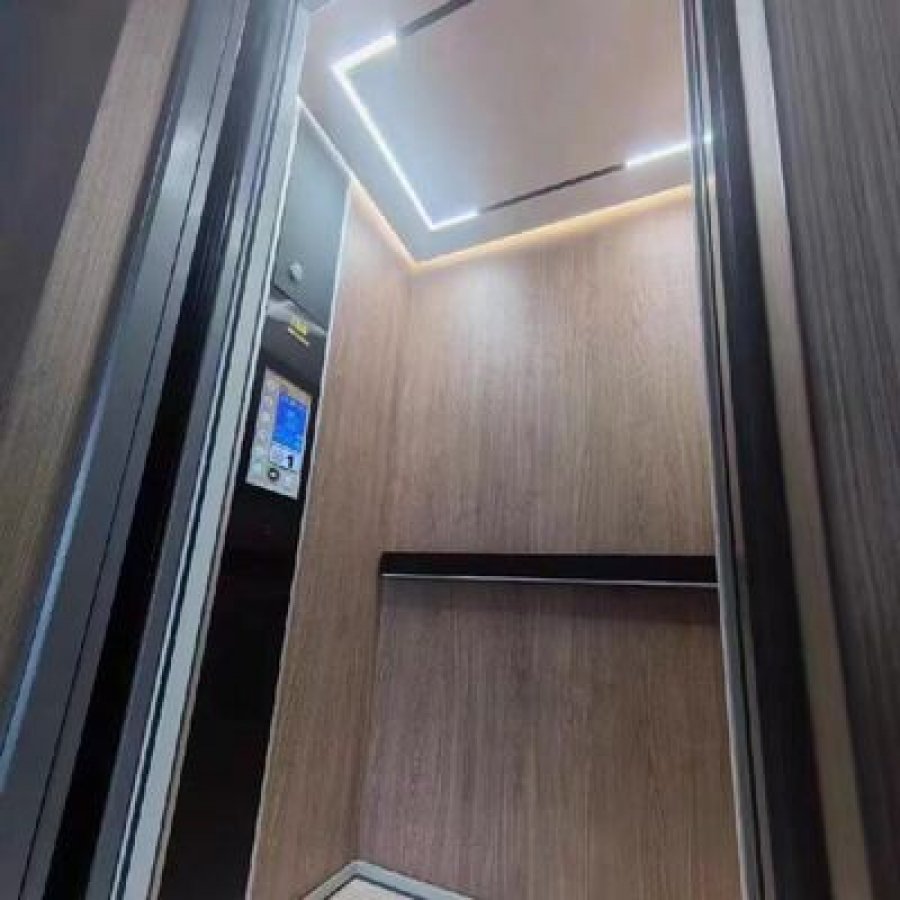
The cabin is the only part of the lift your family touches every day, so it is worth specifying properly. This page lists two cabin directions: 304 stainless steel, or aluminium alloy, with LED lighting inside the cabin and a deck floor.
Stainless steel suits a villa where the lift sits near stone or dark timber and the cabin should read as a permanent architectural element. Brushed 304 resists fingerprints and everyday cleaning, and it holds a reflective surface without being mirror bright. Aluminium alloy does the opposite job: it keeps the frame light, which helps where the shaft is tight or the structure is carrying enough already.
A304 stainless steel cabin
Heavier, durable finish with a brushed look that hides handling marks. The usual choice for a principal stairwell where the lift is on show.
Listed on this page as 304# stainless steel.
BAluminium alloy cabin
Lighter frame, which reduces the load carried by the shaft structure and helps in tight voids and upper-floor positions.
Listed on this page as aluminium alloy.
CGlazed sightseeing panels
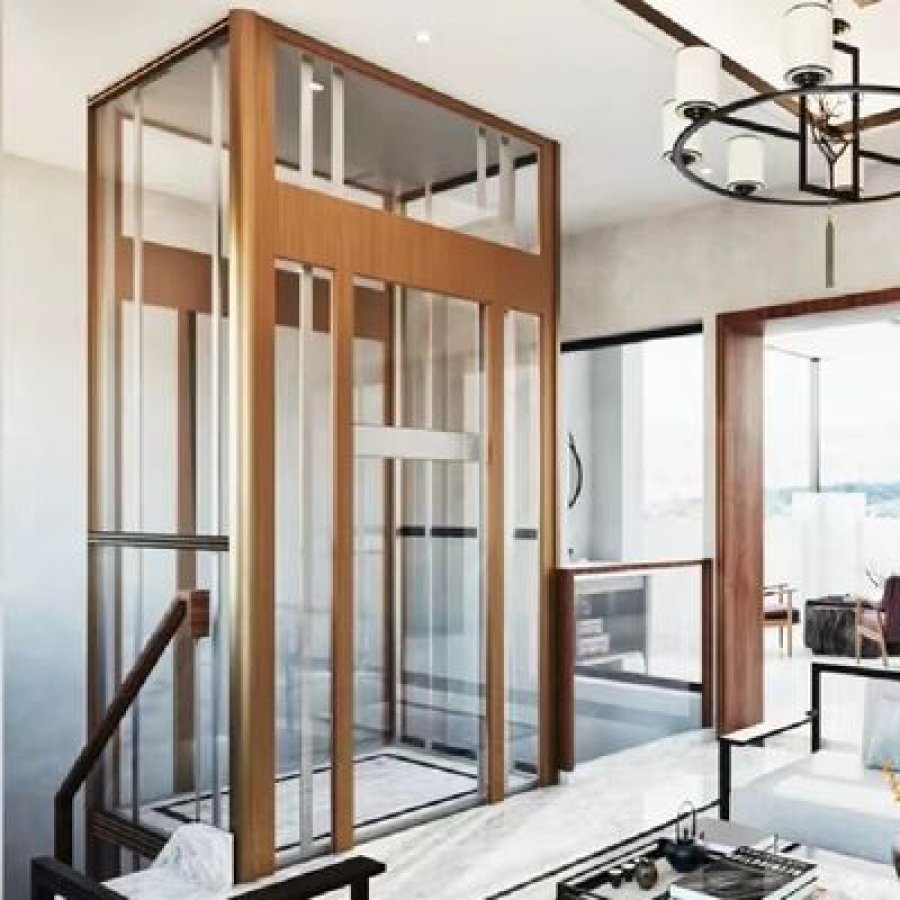
Stainless or aluminium frames can be combined with glass sightseeing panels where the shaft opens onto a garden, an atrium or a stairwell void.
Shown in this page’s gallery; confirm the panel option in the enquiry.
Light, floor and doors
LED lighting is listed for the cabin on this page. It matters more than it sounds: a small cabin with warm, low-heat light feels bigger than the same cabin lit by a single cold downlight, and LED keeps the interior temperature stable on a long summer day.
The cabin floor is a deck floor, so the villa’s own finishes do not have to be repeated inside the lift. If the landing floors are marble or timber, the deck gives a clean transition strip at each door instead of a match that never quite lines up.
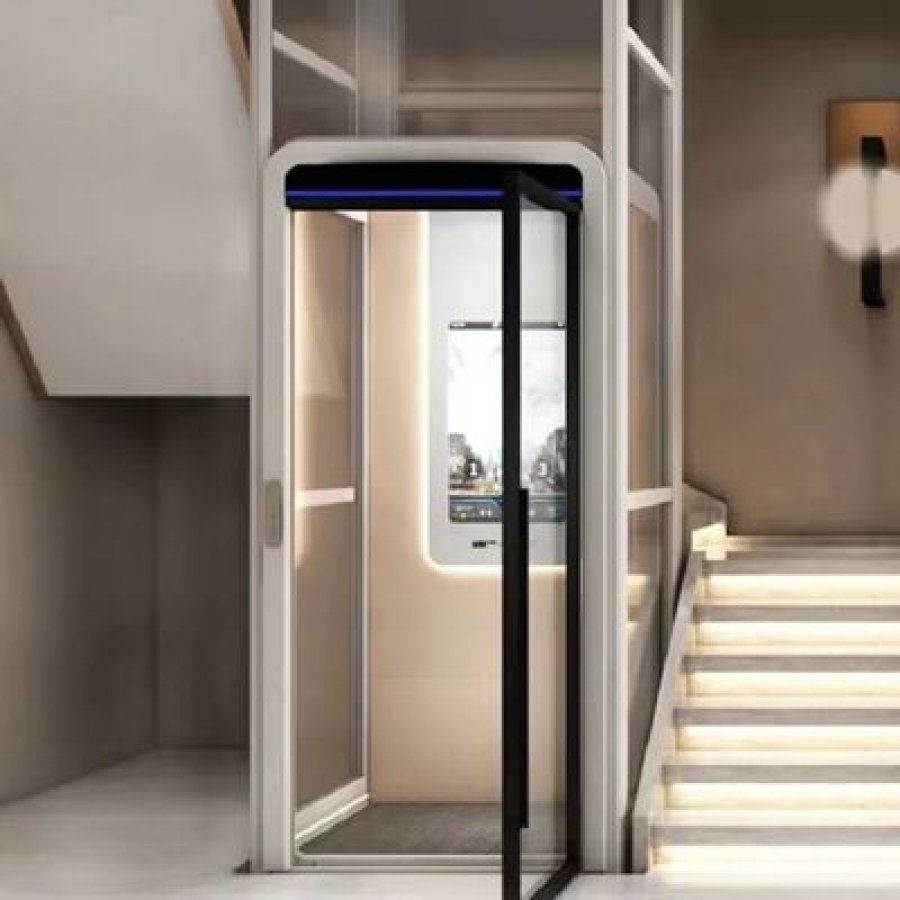
Doors are automatic sliding, which removes the manual gate from the routine. Door sensors and an emergency stop are listed alongside them in the safety group, and both are checked at handover.
Gallery
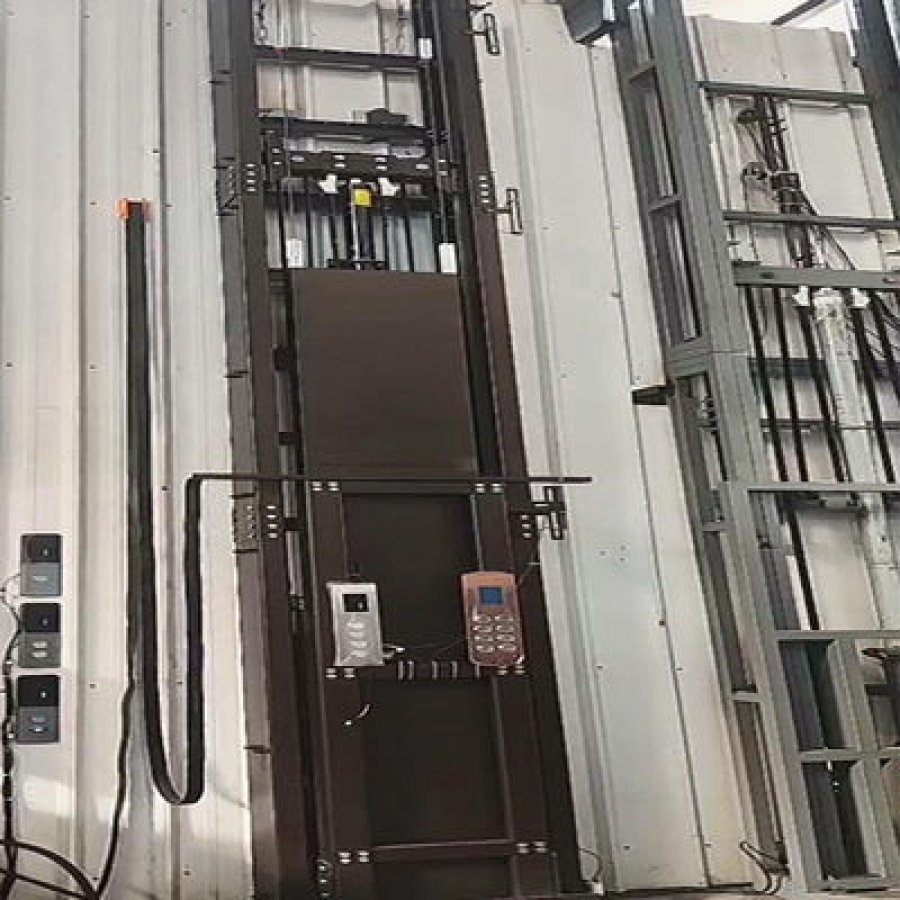
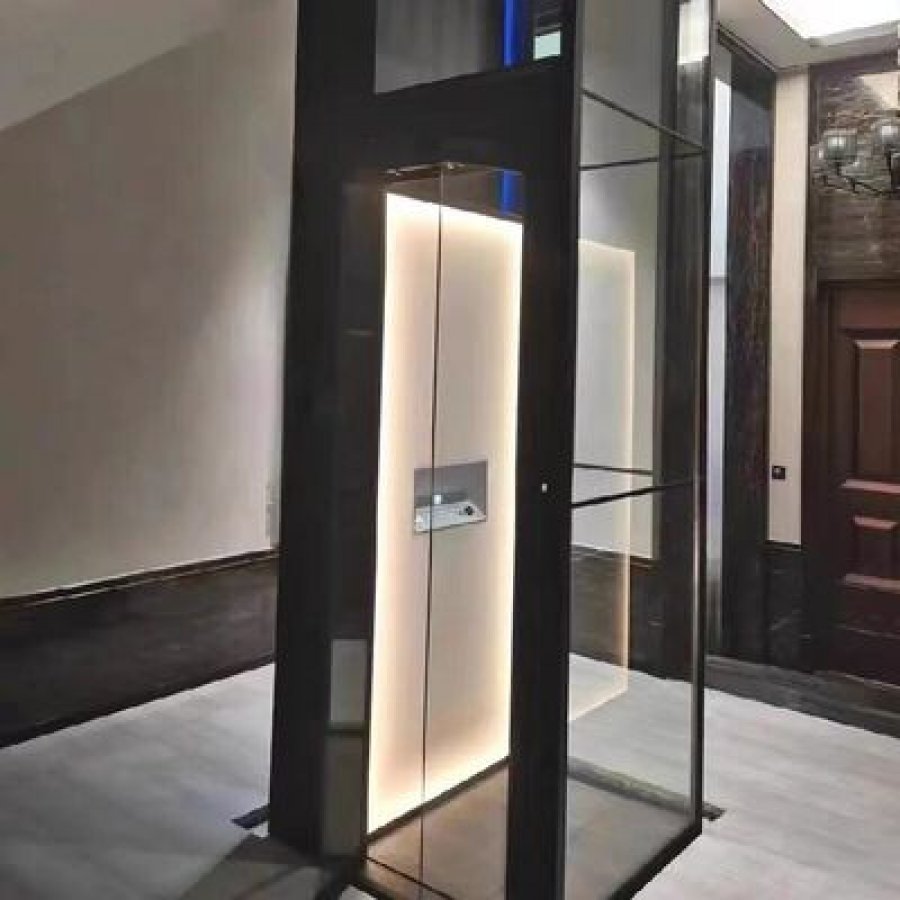
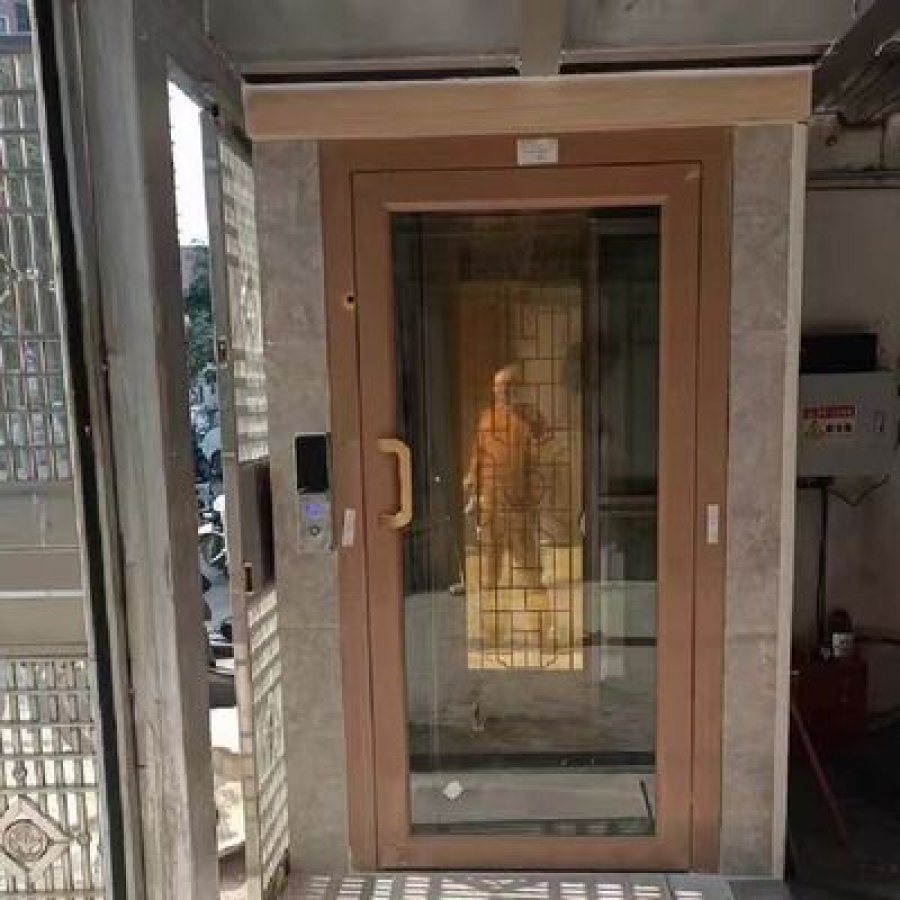
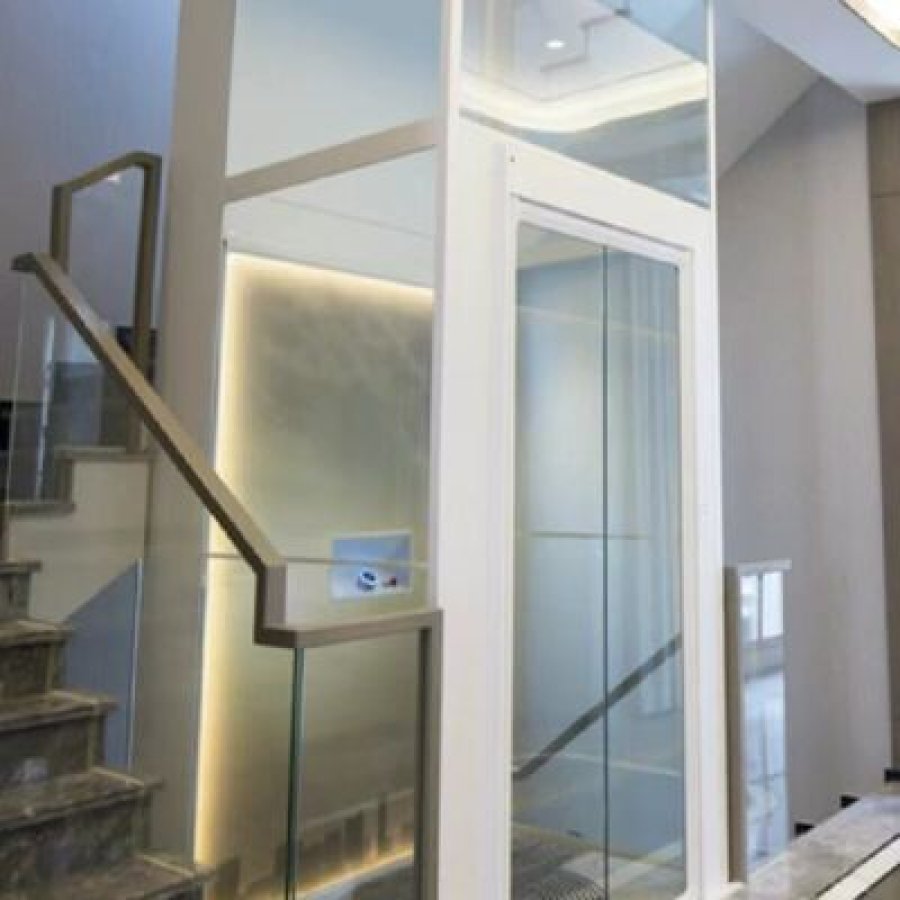
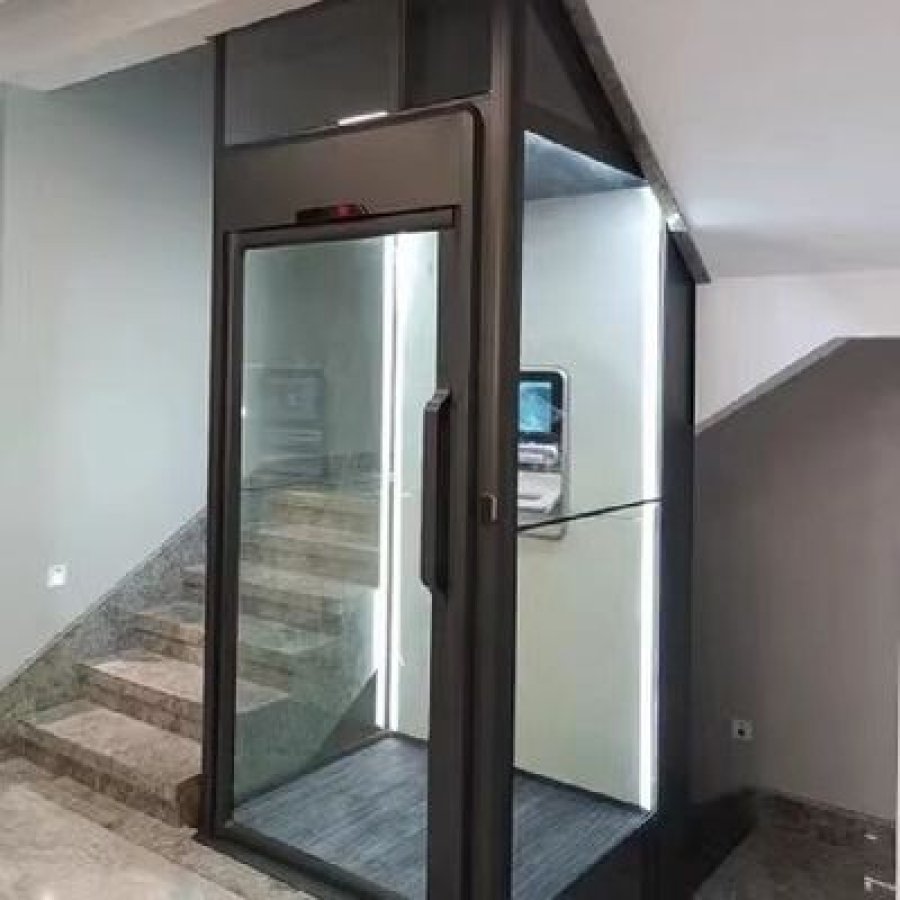
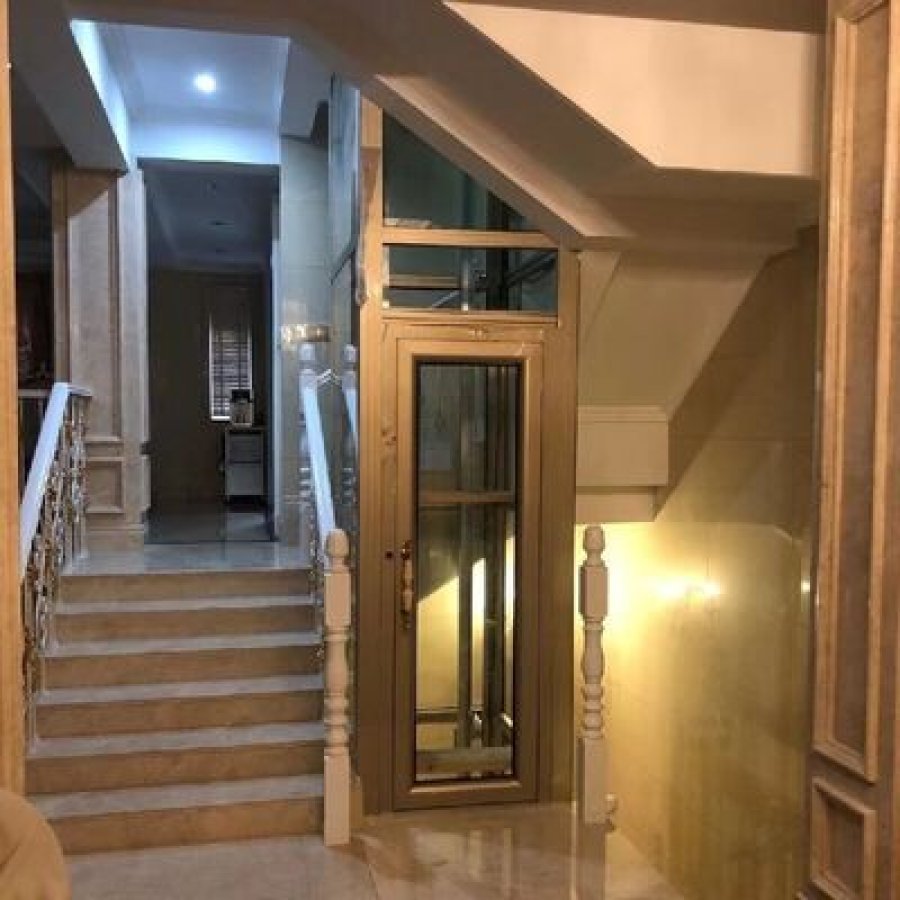
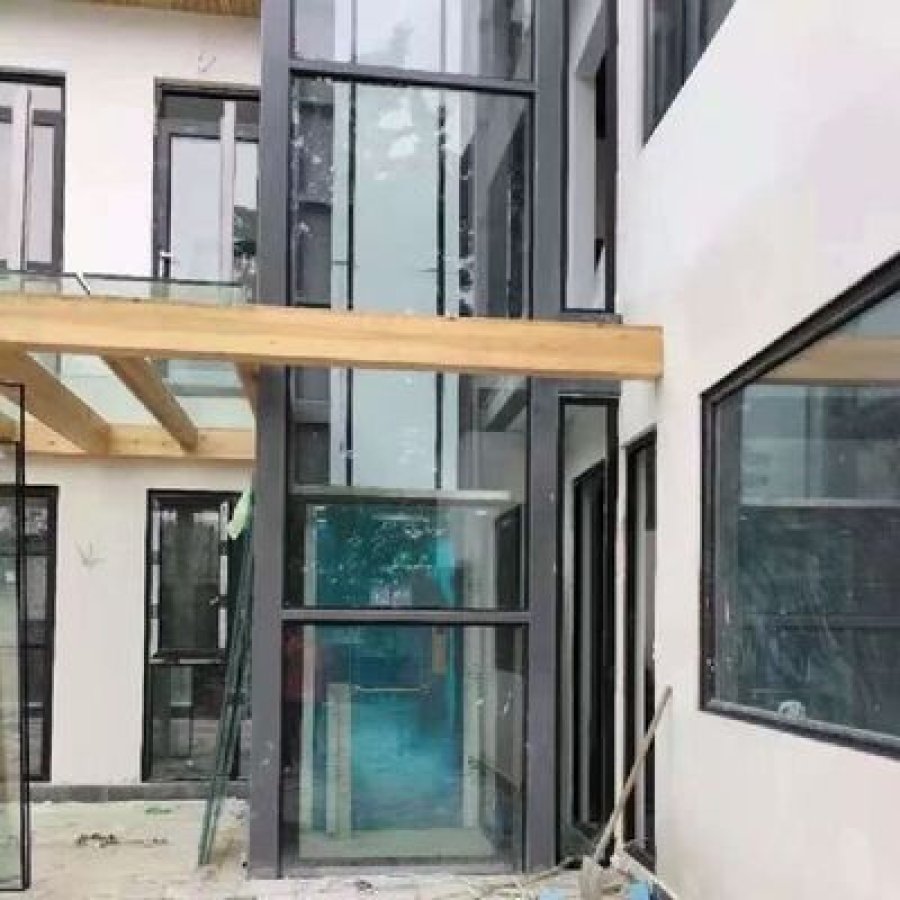
Six of the twelve photographs already published with this lift, showing cabin finishes, cylinder arrangement and villa installations. Select any image to open it larger; use the arrow keys or the buttons to move through the set, and Escape to close.
-
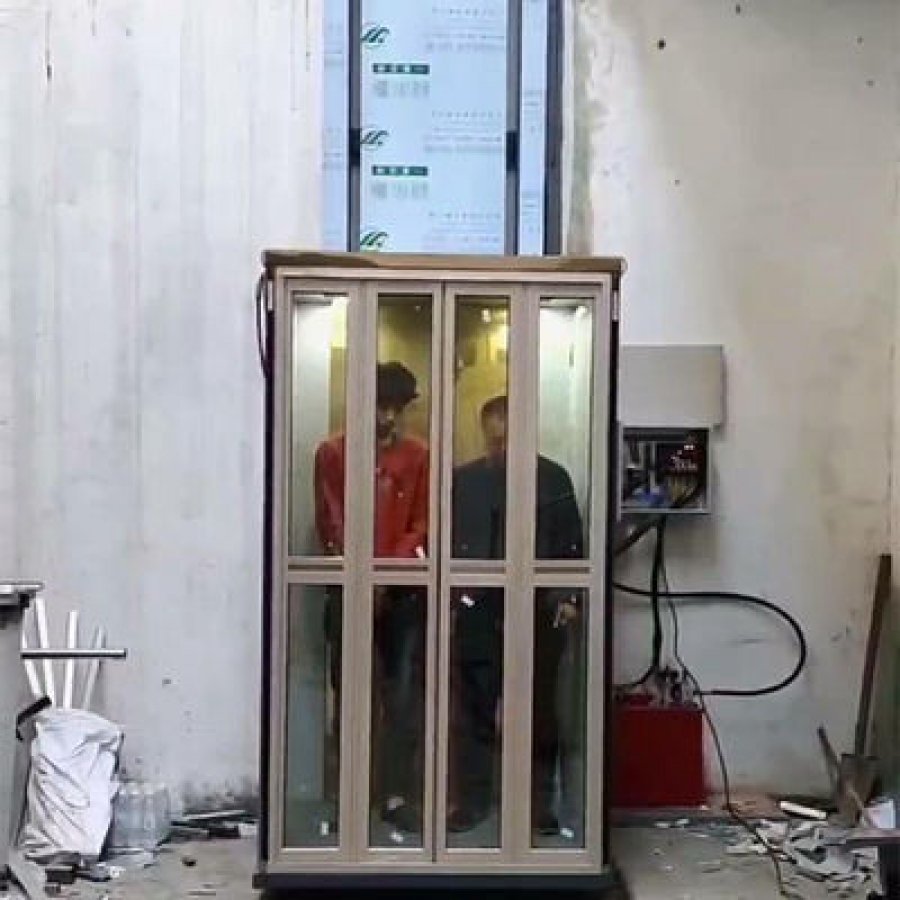
Luxury hydraulic lift for villas – 14.5 m travel, no pit required -
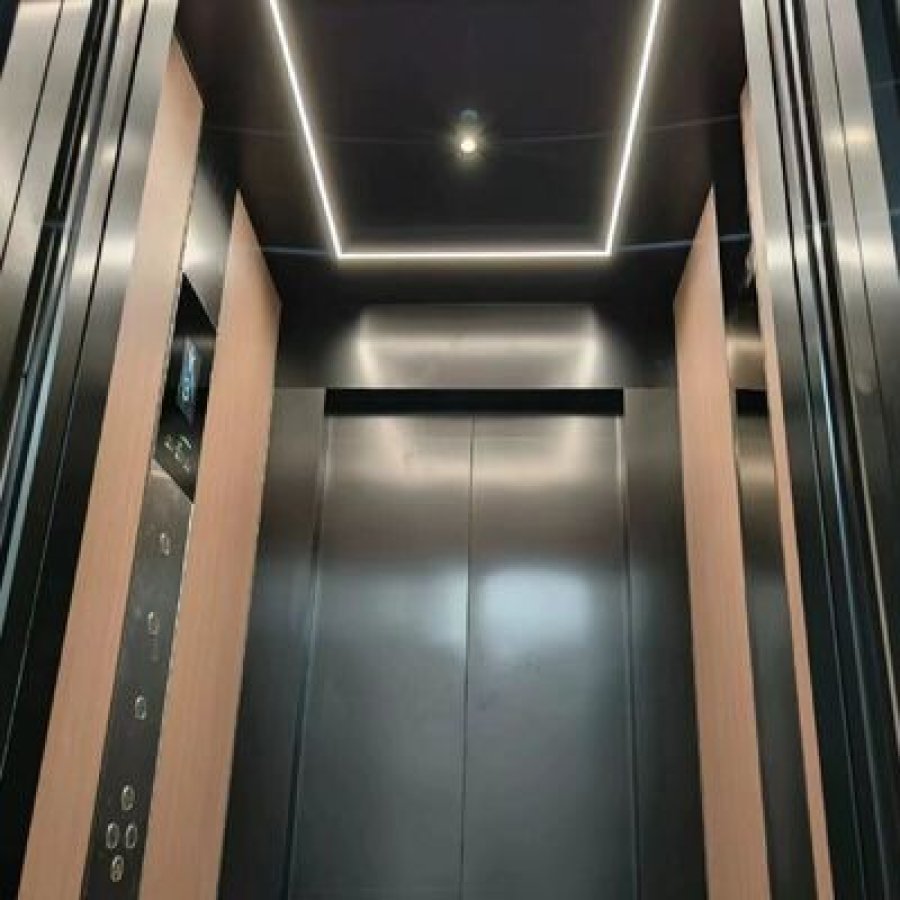
Custom 304 stainless-steel cabin – 0 m pit, 14.5 m rise -
Aluminium cabin – 14.5 m, 5 stops, single-phase -
5-stop pitless build with 2.9 m large cylinders -
Large-cylinder drive with a sightseeing cabin -
Pitless 5-stop unit with automatic sliding doors
Two related layouts are worth a look if the cabin is the deciding factor: the sightseeing version for villas, and the compact outdoor lift for a shaft outside the envelope of the house.
Installation in an occupied house
A retrofit lift is installed in a house that people are still living in, which changes the sequence. The shaft work has to be separated from the finishing work, and the stairs have to stay usable where they can. Dust is kept on the work side of a sheet of plastic, not on the other side of the house.
The seven stages below are the route this kind of installation normally follows. Treat the order as fixed and the length of each stage as a question for the installer who visits the site.
-
1
Survey and drawings
The measurements from section 4 are turned into a shaft drawing, a cabin drawing and a power unit position. Structural checks on the floor and the framing are done at this point, before anything is ordered.
You provide: measured shaft sketch, landing heights, access photos, electrical board photo.
-
2
Protect the route, set up the work zone
Floor protection goes down along the carry route, doorways are masked, and a dust barrier is fixed around the shaft. The rest of the house stays sealed while cutting and drilling happen.
Ask for: a written note of which rooms will be out of use and for how long.
-
3
Prepare the shaft or build the enclosure
Where a void exists it is squared, lined and closed in. Where it does not, the steel or masonry enclosure is built and tied into the structure. With a 0 m pit there is no excavation stage here: the lowest floor finish stays where it is.
Watch point: protection of the finished floor at the lowest landing during the whole of this stage.
-
4
Position the power unit and hydraulic line
The 4.7 kW power unit is set on its base near the shaft, and the hydraulic connection to the cylinders is made. This is when the service access and the 220 V circuit have to line up with the drawing.
Coordinate: the electrician and the lift fitter on the same day where possible.
-
5
Assemble the cabin and guides
Cabin panels, frame and the 2.9 m cylinders are installed. Because the panels arrive flat and are assembled in place, the narrowest doorway on the route matters more than the shaft itself.
Confirm first: the panel sizes against the measured door widths and stair turn.
-
6
Doors and landing finishes
Automatic sliding doors go on at each stop, and the transitions between the landing finish and the deck floor are closed. This is the stage where the villa starts to look finished again.
Decide early: threshold detail at marble, timber and tile landings.
-
7
Electrical connection, testing and handover
The drive is connected to its dedicated circuit, the controls are commissioned, and the safety functions are tested. The house handover includes a walk-through of the controls and a service contact for the warranty period.
Keep: the test record, the warranty start date and the service contact in one folder.
Keeping the damage inside one area
Three habits separate a clean retrofit from a messy one. First, cutting is done in a contained zone with extraction, not in the open stairwell. Second, the carry route is protected before the first panel arrives, not after the first scratch. Third, the shaft is closed and made dust-tight at the end of each working day.
The new structure is the other half of the story. Where an enclosure is added, expect visible new building work: a wall, a frame or a shaft front that has to be decorated to match the house. Budget for that finish as part of the project, and agree with the fitter who closes the last reveal.
Where an existing void is used, the changes are usually limited to the shaft lining, the landing doors and the small penetrations for the hydraulic line and the electrical feed. That is the cheapest version of a retrofit lift, and it is also the version that leaves the villa looking the way it did before the work started.
On schedule. The duration of this work depends on the enclosure, the access route and the finishing trades, so no honest day count can be given from a page. Ask the installer who surveys the house for a staged programme with the dates the shaft, the stairs and the power supply are affected.
What can run in parallel
The electrical circuit can be run while the shaft is being prepared, and the cabin can be assembled while the landing finishes are still being decided. The one sequence that cannot be compressed is the hydraulic connection and the commissioning test, because both need the structure complete and the power available.
Safety devices and handover checks
This page lists three safety devices: emergency stop, overload protection and door sensors. Treated separately they are just a list. Treated as a set, they cover the three ways a residential lift is misused: someone presses stop in a hurry, someone loads the cabin beyond its rating, and someone tries to leave the car while it is moving.
Emergency stop
Cuts the drive immediately when pressed. Check at handover that it stops the car from both inside and outside the cabin, and that the person who uses the lift knows where it is without looking.
Overload protection
Prevents the drive from running when the load is outside the rated range. With a cabin rated between 400 and 630 kg on this page, the practical rule for the household is to know the number and treat it as a limit, not a target.
Door sensors
Stop movement when an obstruction is detected at the door. Ask the installer to demonstrate the sensor response with the car at rest and mid-travel, so the behaviour is known before it matters.
Terms used on this page
Three phrases carry most of the confusion in retrofit enquiries. They are defined here so that the quotation, the drawings and the site conversation all use the same meaning.
- The distance the car has to travel below the lowest finished floor. On this lift the figure is 0 m, so no excavation is made at the bottom landing. – the reason a finished ground floor can stay untouched.
- The clear vertical space above the top landing that the cabin and its lifting equipment need. This page states a 3 m requirement, so it is one of the four survey figures. – the figure that decides how high the top stop can go.
- A 220 V, 50 Hz domestic supply rather than a three-phase industrial feed. This lift runs from the single-phase service already in the villa. – why no supply upgrade is normally part of the scope.
Handover checks worth doing yourself
Before the installer leaves, walk through the following items. Each one is a two-minute check and each one is much harder to raise later.
- Level accuracy at every stop, checked against the landing finish rather than by eye from inside the cabin.
- Emergency stop tested from inside the cabin and from the landing.
- Door sensor response demonstrated with the car stationary and again while moving.
- Automatic sliding doors opening and closing cleanly at all five stops.
- Overload behaviour explained, with the rated figure for this cabin and the household rule that goes with it.
- The dedicated circuit, isolation point and protective device identified on the electrical drawing.
- The evacuation or release procedure for a power failure, as supplied for this model, understood by at least two adults in the household.
[TO CONFIRM] The release or evacuation procedure for this specific model is not described on this page. Request the written procedure and the location of any manual lowering device with your quotation so it can be included in the household briefing.
Maintenance, spares and warranty
The warranty on this lift is 12 months, listed as one year on the parameter table. A year is enough to catch an installation fault, which is exactly what it is for, and it is not long enough to be a maintenance plan. The plan is the part the owner controls.
A hydraulic drive is mechanically simple and rewards routine attention. The fluid, the seals, the cylinder rods and the door sensors do almost all of that work. All four are accessible from outside the shaft when the power unit has service room around it.
The maintenance routine
Hydraulic fluid
Check level and condition at the power unit, and look for a change in colour or a drop in level between visits. A slow loss of fluid is the first sign of a seal issue, and it is cheaper to catch than a cylinder repair.
Interval and fluid grade: follow the supplied service schedule.
Seals and cylinder rods
Inspect the 2.9 m cylinder rods for scoring, oil film or damage. Keeping the shaft clean and dry protects them, and the 0 m pit arrangement keeps the rods above the floor level where water collects.
Annual inspection is the normal starting point.
Doors and sensors
Clean the door tracks and check the sensor response at every stop. Dust from a building project or from a nearby road is the usual cause of a sensor that reacts slowly.
Check after any renovation work in the house.
Safety functions
Test the emergency stop and the overload behaviour at each service. These are the two functions that are only ever noticed on the day they are needed.
Record the result with the service date.
Spares worth holding
For a single lift in a private villa, a large spare parts stock is wasted money. A small kit is not. The sensible list is the items that stop the lift working and take time to source: door sensor components, seal and hydraulic consumables, and the control components the supplier identifies as wear items for this model.
Service and support
The page states ISO 9001 and CE certification, one year of warranty and local service in all 17 target markets. That last point is the one to test during the enquiry: ask which service partner covers your country, how quickly they can attend, and whether the first service visit is included in the contract.
Book the first service inside the warranty window. Not because the lift is expected to fail, but because a warranty claim is much simpler when the machine has been seen by a technician and the readings are on file.
Keep one folder. Parameter table, drawings, test record, warranty start date, service contact and the release procedure. In ten years that folder is the difference between a quick service visit and a week of questions.
What tends to cost money later
Three things drive the cost of ownership of a retrofit lift. The first is a power unit installed without service access, because every visit takes longer. The second is a shaft that lets water and dust reach the hydraulic equipment. The third is a household that does not know the rated load, which is how overload protection gets tested by accident rather than by design.
Retrofit questions buyers ask
These are the questions that come up in almost every villa retrofit enquiry. Each answer uses only the figures listed on this page, and each one links back to the section where the detail sits.
Does this lift need a pit?
No. The pit depth listed on this page is 0 m, so no excavation is made at the lowest landing. The floor finish of the ground floor stays exactly where it is, which is the reason this configuration is used for finished villas rather than new builds.
How far can it travel, and how many stops does it serve?
Up to 14.5 m of travel across 5 stops, measured finished floor to finished floor across the whole run. The total of the landing heights has to sit inside that figure, not just the height between two adjacent floors.
What power supply does it need?
A 220 V, 50 Hz single-phase supply with a 4.7 kW motor. No three-phase service and no supply upgrade are part of the standard scope. The circuit protection and cable sizing are confirmed by a local electrician against the wiring rules in your country.
How much headroom is needed above the top landing?
The page states a 3 m overhead clearance. Measure from the top finished floor to the underside of the roof or the floor structure above, and treat the result as one of the four figures that decide feasibility. A sloping roof over the top landing usually means moving the top stop rather than changing the lift.
How much can the cabin carry?
The load range on this page is 400 to 630 kg, with custom builds quoted up to 1000 kg. The figure for your lift is confirmed on the drawing, and the cabin size follows the shaft you have. Overload protection is fitted to keep the drive inside that rating.
Can it be installed in a house that is already furnished and lived in?
That is the intended case. Because there is no pit, the ground floor is not opened up, and the work is contained in the shaft area and along the carry route. Protective sheeting, a dust barrier and a staged programme keep the rest of the house usable. The section on installation sets out the seven stages.
Will it fit into an existing stairwell void?
Often, but the answer depends on the clear dimensions rather than on the size of the void on plan. Measure the narrowest clear width and depth at every stop and the clear overhead dimension above the top landing. Send those figures with a sketch and the cabin size can be checked against the 400–630 kg range before anything is ordered.
How fast is the lift?
The rated speed on this page is 0.6 m/s, a standard residential figure. A full 14.5 m run is a short ride, and in a house the comfort of a smooth hydraulic start and stop usually matters more than the number itself.
Which cabin finishes are available?
304 stainless steel or aluminium alloy, with LED lighting inside the cabin and a deck floor. Stainless steel gives a heavier architectural finish; the aluminium alloy frame keeps the cabin light where the shaft structure or the access route is tight.
Do the doors open automatically?
Yes. Automatic sliding doors are listed for this lift, together with door sensors that stop movement when an obstruction is detected. There is no manual gate to close behind you.
What safety equipment comes with it?
Emergency stop, overload protection and door sensors. All three are demonstrated at handover, and the checks to carry out before the installer leaves are listed in the safety section of this page.
What warranty is included, and what does servicing involve?
12 months on this unit, described as one year on the parameter table. Servicing centres on the hydraulic fluid, the seals and cylinder rods, the door sensors and the safety functions. Book the first visit inside the warranty period and keep the service record with the handover folder.
Can this lift be installed outside the house?
This page covers the villa retrofit configuration with a 0 m pit. Where the shaft is a new structure outside the envelope of the house, the outdoor models in the same range are the better starting point, and the layout can be compared on the compact outdoor elevator page.
If your question is about a specific villa, the fastest route is to send the survey figures from section 4 with a photograph of the shaft and the electrical board. A feasibility answer is possible from those four numbers.
What to send for a quote
A quotation for a villa retrofit lift is only as good as the information behind it. Eleven items are enough for a priceable offer, and all of them come from the survey you have already done or from a few photographs.
- Quotation information pack 0 / 11
What happens with the pack
The survey figures are checked against the cabin range and the drawings are prepared. Where a structural enclosure is needed, the lift drawing becomes the input to a local engineering check. The quotation then covers the lift, the configuration changes and the delivery terms, with the site work either included or listed as a separate package, depending on who is carrying it.
Send the pack even if two or three figures are still missing. It is easier to close a gap with one follow-up question than to price a project on assumptions, and the missing items are usually obvious from the photographs in the same email.
Which lift to compare next
If the shaft is tight, compare the compact layouts in the same drive family. If the priority is the cabin itself, compare the glazed version. If the lift will sit outside the house, the outdoor models are the correct starting point.
- Hydraulic home elevator range – the same hydraulic drive across other cabin layouts.
- Microprocessor-controlled sightseeing elevator for villas – for a glazed cabin on a stairwell or atrium.
- Indoor/outdoor 400 kg hydraulic lift – a 400 kg build for positions between inside and outside.
- Compact outdoor elevator for villas – where the shaft is built outside the house.
- Full product list – compare drive types before fixing the configuration.
Summary. A 0 m pit hydraulic lift with 14.5 m of travel, 5 stops, 400–630 kg of cabin load and a 220 V single-phase supply is the retrofit answer for a villa that is already finished. The four survey figures decide feasibility, the shaft dimensions decide the cabin, and the whole project is planned around leaving the rest of the house alone.
Figures on this page are taken from the parameter table published with this lift. Send your survey figures for a project-specific confirmation.
Want to Know more details about this product
Similar Products